![How To Use An Inversion Table [ Steps Explained ] by Inversion Table hub or inversiontablehub.com](https://inversiontablehub.com/wp-content/uploads/2024/06/Blue-Halftone-Secret-Tips-Social-Media-Tutorial-YouTube-Thumbnail-1.jpg)
Using an inversion table has gained popularity as a non-invasive method to alleviate back pain, enhance circulation, and promote overall spinal health.
If you are looking to learn the right steps to use inversion table, then I have shared some insight on How To Use An Inversion Table ?
In this article, I have also attached a video by Gordon Physical Therapy who explains on using the inversion table for inversion therapy.
This guide provides comprehensive instructions on how to safely and effectively use an inversion table, ensuring you can reap its full benefits.
From initial setup to gradual adjustments and important safety considerations, these steps will help you integrate inversion therapy into your wellness routine with confidence and ease.
Since this the general guide on How To use an Inversion table, but it would be good if you like to learn to use inversion table for a specific purpose or condition.
Here is some of our reference to check out –
👉🏼 Inversion Therapy at Home to Fix Posture – Methods
👉🏼 Inversion Therapy for Headache
👉🏼 Inversion Therapy for Weight Loss : Ultimate Guide
👉🏼 Complete Guide To Inversion Tables For Lower Back Pain
👉🏼 Increase Height With Inversion Table : Fact or Fiction?
👉🏼 Sciatica Inversion Table : Relieving Pain and Discomfort
👉🏼 Inversion Table Exercise & Workout Therapy Instruction
If you are beginners, then make sure to check out –
👉🏼 A Beginner’s Guide To Inversion Table
How To Use An Inversion Table ?
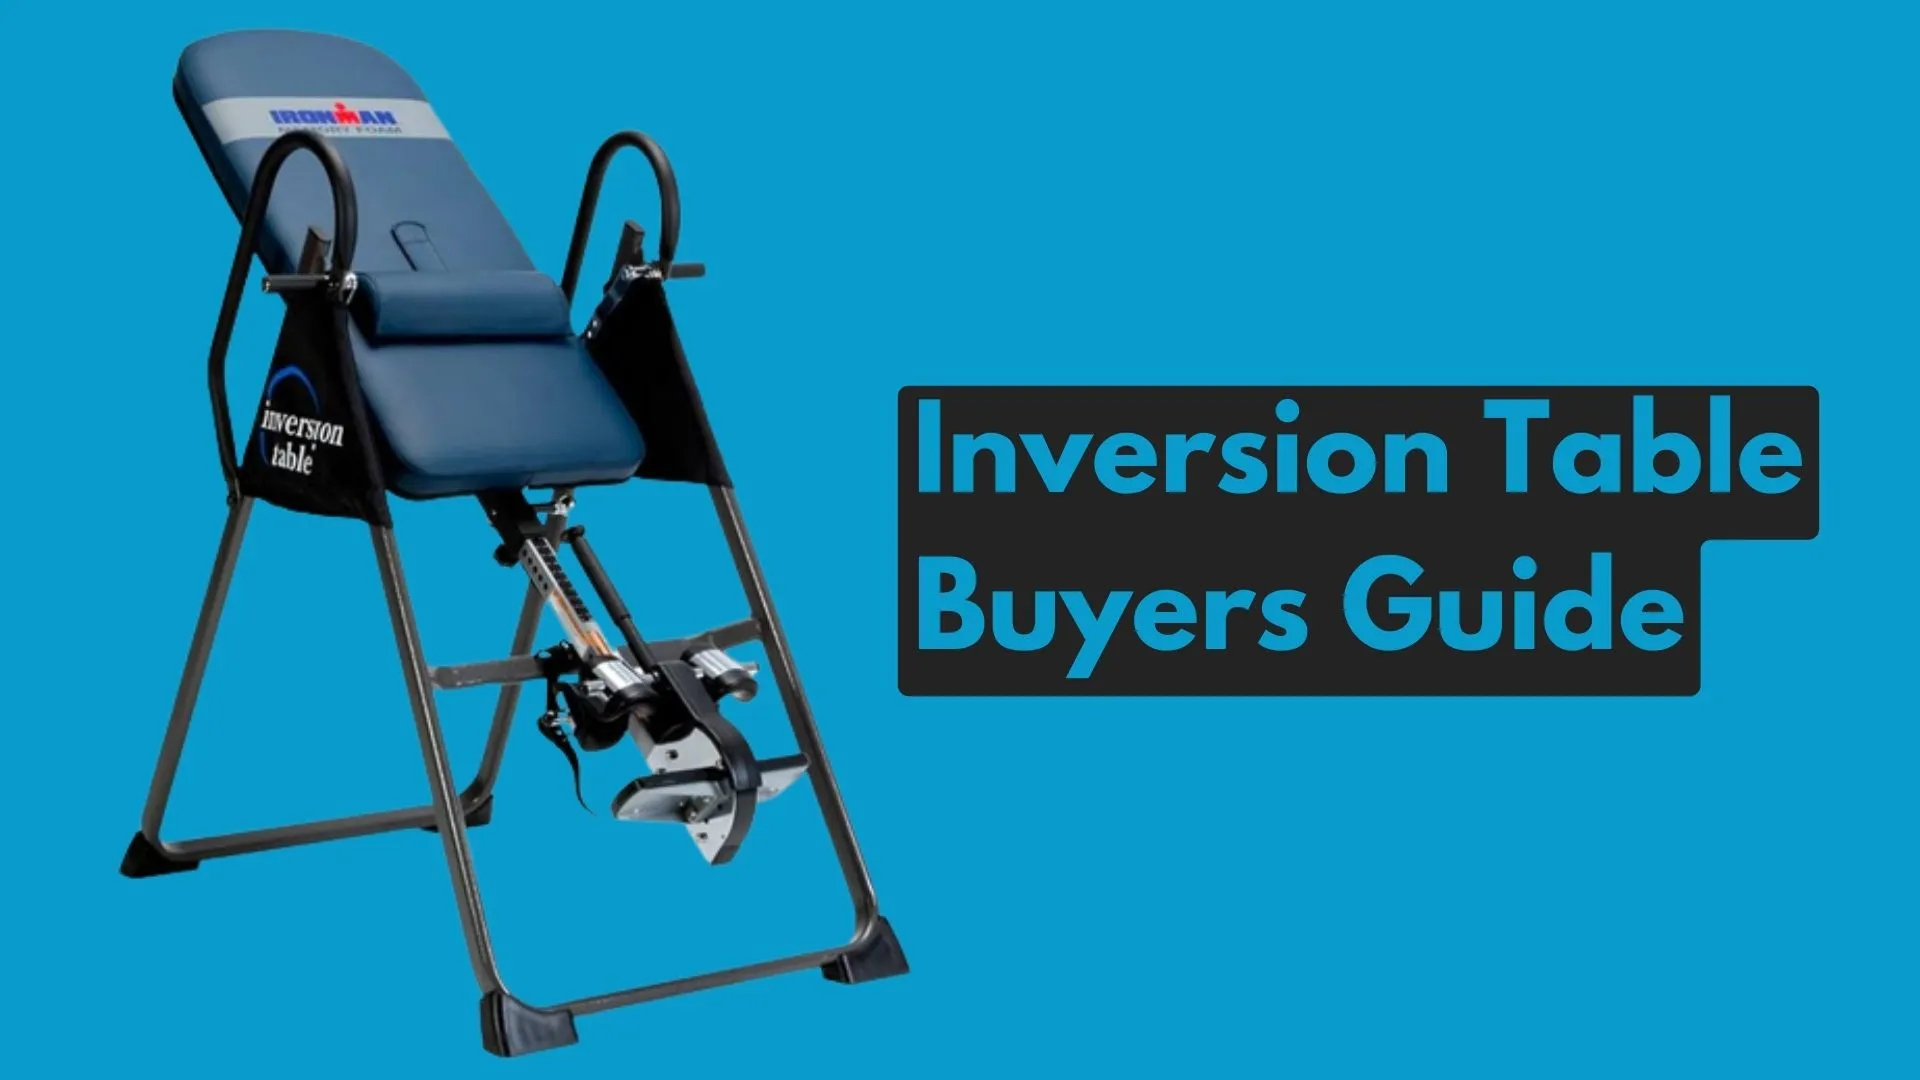
Understanding Basic Structure And Components of an Inversion Table
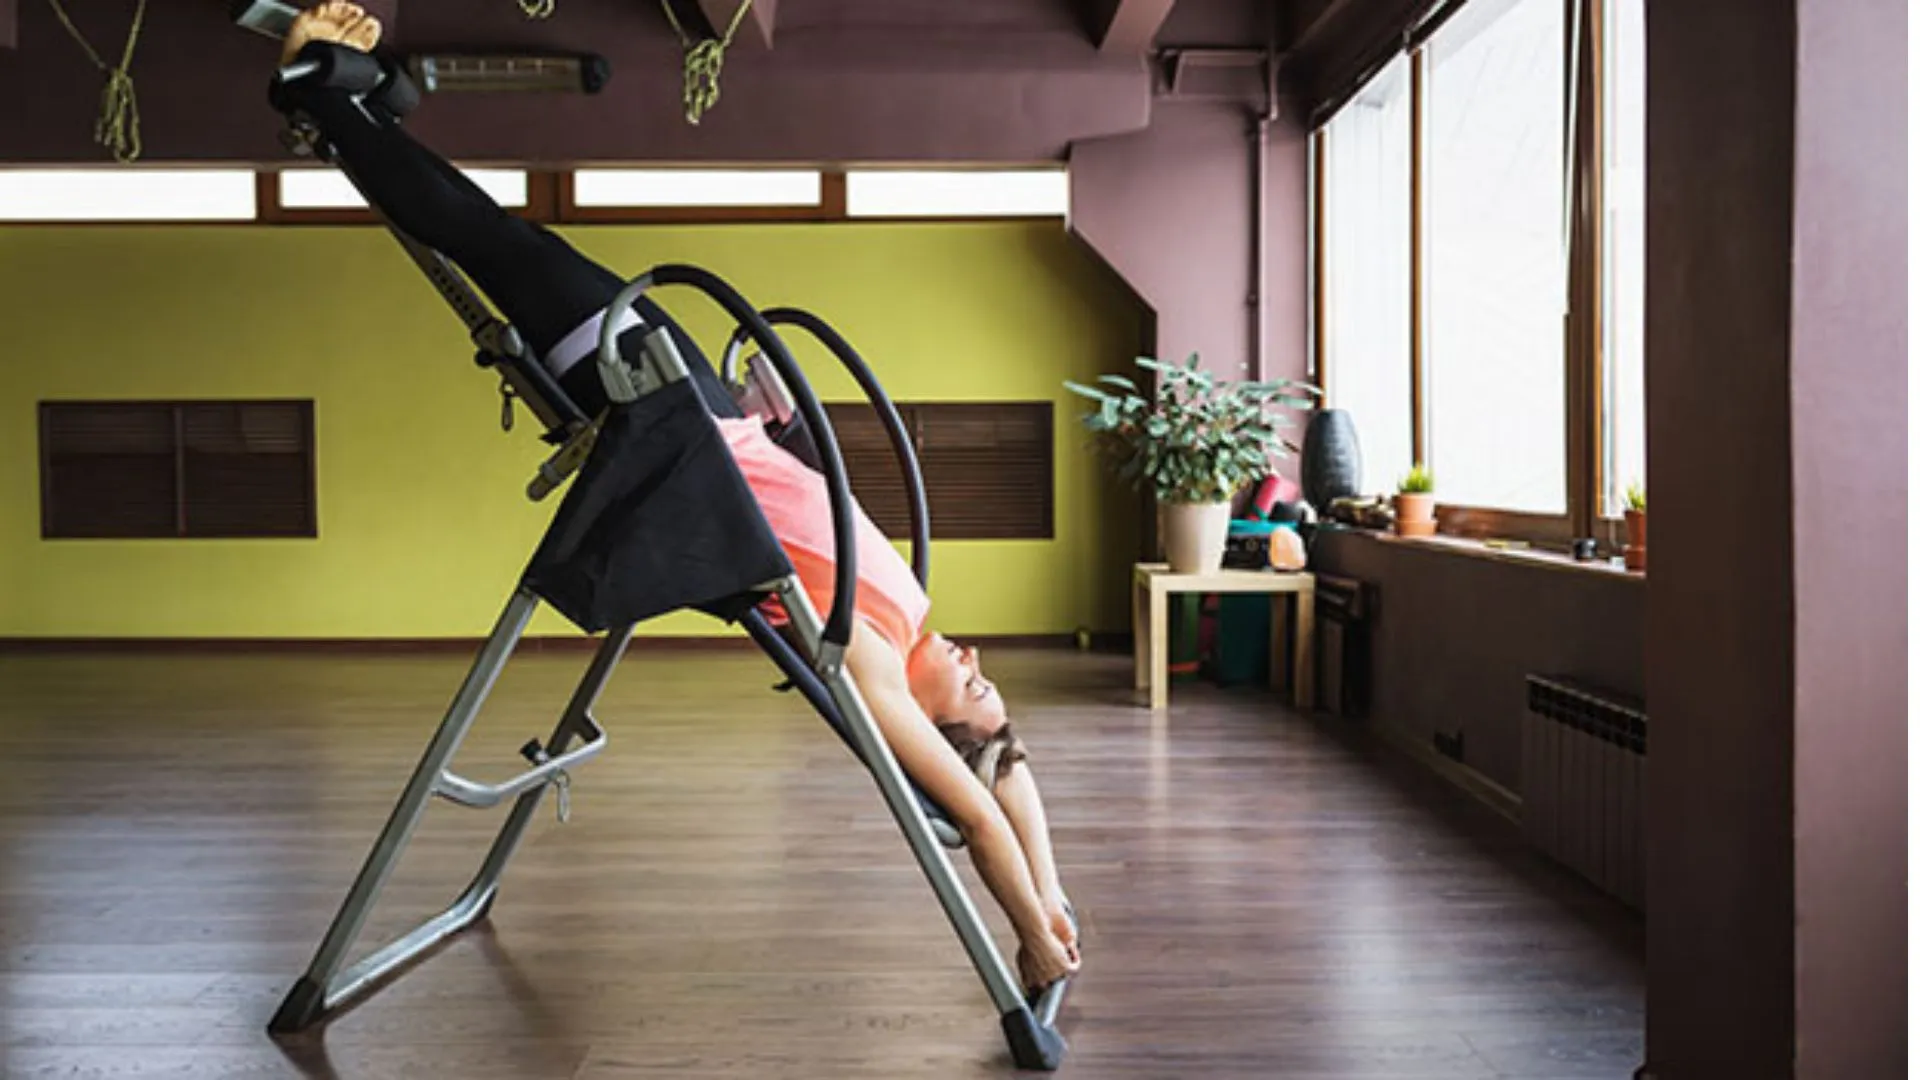
An inversion table is a piece of exercising equipment used primarily for inversion therapy at home, a practice aimed at relieving back pain and improving spinal health by hanging it upside down or at an inverted angle.
✔️ Frame: The frame of an inversion table is typically made of steel or a sturdy metal alloy to provide stability and support. It is designed to withstand the weight of the user and maintain balance during inversion.
✔️ Ankle Supports: Ankle supports are crucial components of an inversion table as they secure the user’s ankles firmly in place while inverted. These supports often consist of padded cuffs or bars that hold the ankles securely to prevent slippage or discomfort.
✔️ Safety Features: Safety features are essential for preventing accidents or injuries while using an inversion table.
Common safety features include safety straps or locks that ensure the table does not invert beyond a certain angle, sturdy handles for stability and assistance when getting on or off the table, and non-slip footrests to provide traction and prevent slipping during inversion.
✔️ Adjustment Settings: Most inversion tables offer various adjustment settings to accommodate users of different heights and preferences.
These settings may include adjustable height settings for the ankle supports, allowing users to customize the fit for maximum comfort and effectiveness. Additionally, some inversion tables feature adjustable inversion angles, allowing users to control the degree of inversion based on their comfort level and specific therapy needs.
✔️ Padding and Comfort Features: Many inversion tables come equipped with padded backrests and headrests to enhance comfort during inversion sessions. The padding helps distribute weight evenly and reduce pressure points, making the experience more comfortable for the user.
✔️ Foldable Design: Some inversion tables are designed to be foldable for convenient storage when not in use. This feature allows users to save space and easily store the table in a closet or corner when it’s not being used.
👉🏼 Increase Height With Inversion Table : Fact or Fiction?
Setting Up the Inversion Table
Step-by-step instructions on how to assemble the inversion table properly, including adjusting the height and angle settings according to the user’s comfort level and experience.
Assembling and setting up an inversion table properly is crucial for ensuring safety and comfort during use. Here’s a step-by-step guide on how to assemble and adjust an inversion table:
✔️ Unboxing and Organizing Parts: Start by unboxing the inversion table and laying out all the components in an organized manner. Check the contents against the instruction manual to ensure nothing is missing.
✔️ Assemble the Frame: Begin by assembling the frame of the inversion table according to the manufacturer’s instructions. This typically involves connecting the various metal pieces using bolts and screws provided with the table. Use the appropriate tools as recommended by the manufacturer.
✔️ Attach Ankle Supports: Once the frame is assembled, attach the ankle supports to the designated positions on the frame. Ensure that the ankle supports are securely fastened using the screws or bolts provided. Make sure they are positioned correctly to accommodate the user’s ankles comfortably.
✔️ Adjust Height Settings: Most inversion tables allow you to adjust the height settings of the ankle supports to fit users of different heights.
Refer to the instruction manual to determine how to adjust the height settings. Typically, this involves loosening the adjustment knob or lever, sliding the ankle supports to the desired height, and then tightening the knob or lever securely.
✔️ Adjust Angle Settings: Depending on the model, your inversion table may have adjustable inversion angles. Start by setting the inversion table to the lowest angle, usually horizontal or slightly inclined.
As you become more comfortable with inversion therapy, you can gradually increase the angle over time. Follow the manufacturer’s instructions to adjust the angle settings safely.
✔️ Check Safety Features: Before using the inversion table, double-check that all safety features are in place and functioning correctly. Ensure that the safety straps or locks are engaged to prevent the table from inverting beyond a safe angle. Verify that the handles are sturdy and the footrests provide adequate traction.
✔️ Test Stability: Once the inversion table is fully assembled and adjusted, perform a stability test by gently rocking the table from side to side and front to back. The table should remain stable and balanced without wobbling or tipping over.
✔️ Final Adjustments: Encourage the user to lie on the table and make any final adjustments to the height and angle settings to ensure maximum comfort and effectiveness. Ensure that the user’s ankles are securely fastened in the ankle supports before proceeding with inversion therapy.
By following these step-by-step instructions, you can assemble and set up an inversion table properly, providing a safe and comfortable experience for the user during inversion therapy sessions.
Consider Safety Precautions As a Priority

Before you go and buy inversion table and start treating yourself. You must make sure that you are not seeking to fix your any medical issues or conditions, where medical consideration is recommended.
For example, individuals with high blood pressure may experience a sudden increase in blood pressure when inverted, while those with glaucoma or heart disease may be at increased risk of complications.
Consulting with a healthcare professional allows for a thorough assessment of individual health concerns and ensures that inversion therapy is safe and appropriate.
But no need to have medical consideration, just because you wanted to use inversion table for exercising purpose, back pain issues, improving flexibility, blood flow circulation, and so on.
👉🏼 Are Inversion Tables Good For You ?
Proper Technique Need To Use Before How To Use An Inversion Table
Regular use of the inversion table, combined with proper technique, can provide relief and promote spinal health.
Let’s walk through the proper technique for using an inversion table to ensure safety and effectiveness:
Setting Up:
- Place the inversion table on a flat surface with enough space around it.
- Adjust the height setting to match your own height.
- Ensure the table is stable and secure.
Securing Ankles:
- Sit on the table with your back against the backrest.
- Place your feet in the ankle supports.
- Tighten the ankle straps securely but comfortably.
- Make sure your ankles are well-aligned and not twisted.
Body Positioning:
- Lie back slowly, keeping your head and neck relaxed.
- Extend your arms above your head, gripping the handles.
- Keep your shoulders relaxed and away from your ears.
- Maintain a neutral spine position.
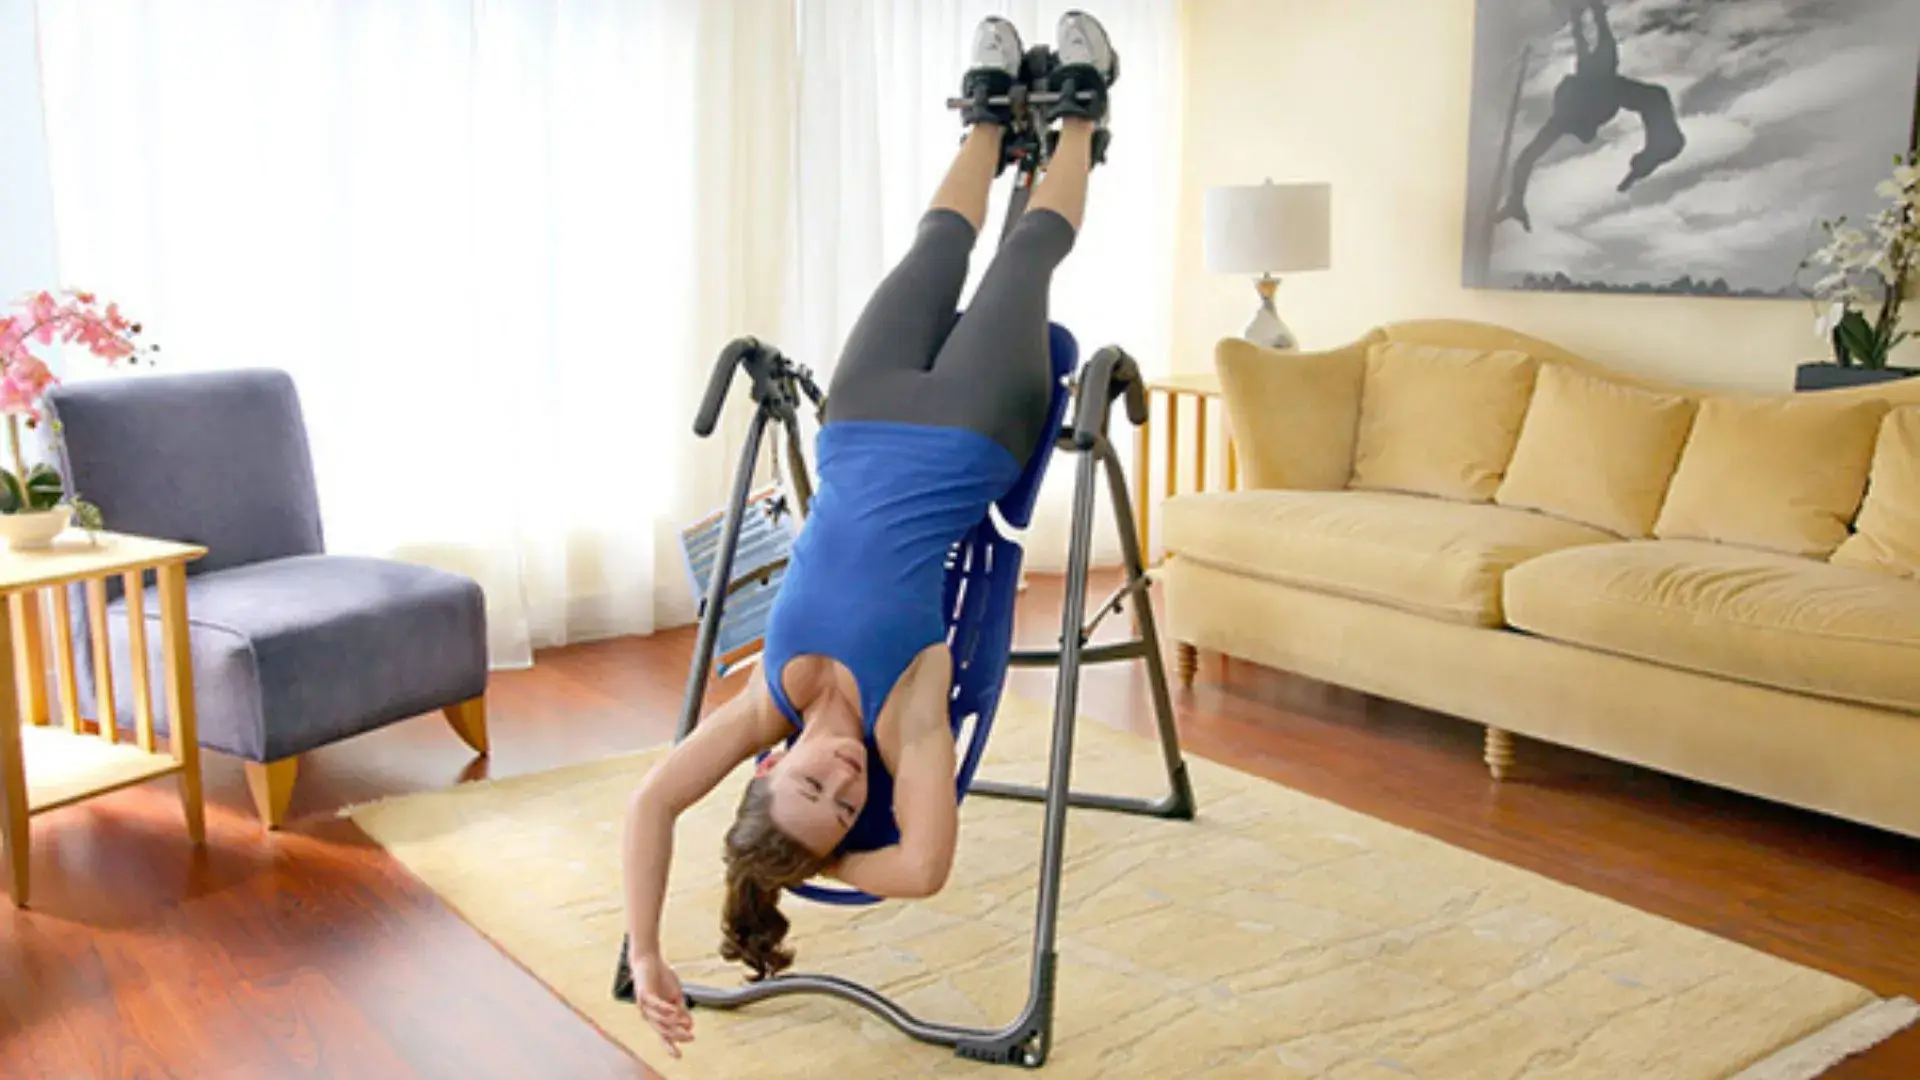
Inverting:
- Start with a shallow angle (around 20-30 degrees) for beginners.
- Use the safety handles to control your descent.
- Breathe deeply and relax your muscles.
- Gradually increase the inversion angle as you become comfortable.
- Aim for a gentle stretch, not extreme inversion.
Breathing and Relaxation
- While inverted, take slow, deep breaths.
- Focus on relaxing your back, neck, and shoulders.
- Avoid tensing up; let gravity do the work.
- Stay in this position for a few minutes to allow your spine to decompress.
Ascending Back Up
- To return to an upright position, engage your core muscles.
- Use the handles to pull yourself up gradually.
- Avoid sudden movements or jerking.
- Listen to your body and stop if you feel discomfort.
Duration and Frequency
Discussing appropriate inversion session durations, typically starting with short sessions (e.g., 1-2 minutes) and gradually increasing the duration as tolerated.
Recommend a safe frequency of use, such as 1-2 sessions per day, with rest days in between to allow the body to adapt to inversion therapy.
Duration:
- Begin with short sessions: Start with just 1-2 minutes per session. This allows your body to slowly adapt to the inversion experience and minimizes risk of strain.
- Gradually increase duration: As tolerated, you can increase the duration of your sessions by 30-60 second increments. Listen to your body and don’t push yourself beyond comfortable limits. A good rule of thumb is to stop before you experience any pain or discomfort.
- Maximum duration: There’s no one-size-fits-all maximum duration, but most users find a sweet spot between 10-20 minutes per session.
Frequency:
- Start with low frequency: Begin with 1-2 inversion sessions per day. Even on these days, space out your sessions with a few hours in between to allow your body to recover.
- Listen to your body: This is especially important when considering frequency. If you experience any soreness or dizziness, take a rest day and resume when you feel up to it.
- Gradually increase frequency: As your body adapts, you can slowly increase the frequency of your sessions. Some users find success with daily sessions, while others prefer every other day or even just a few times a week.
👉🏼 Are Inversion Tables Good For You ?
Proper Post-Inversion Care Is High Recommended
Gradually return to an upright position after each inversion session, using slow and controlled movements. Suggest performing gentle stretches or exercises to further promote spinal health and alleviate any discomfort or muscle tension.
Proper post-inversion care is essential for maximizing the benefits of inversion therapy. Here are some guidelines to follow:
Returning to Upright Position:
- After your inversion session, gradually return to an upright position.
- Avoid sudden movements or jerking.
- Use the handles provided on the inversion table to assist you.
- Take your time and listen to your body.
Gentle Stretches and Exercises:
To enhance spinal health and alleviate any discomfort or muscle tension, consider incorporating gentle stretches and exercises:
- Cat-Cow Stretch: On all fours, alternate between arching your back (like a cat) and extending it (like a cow).
- Child’s Pose: Kneel on the floor, sit back on your heels, and stretch your arms forward.
- Pelvic Tilts: Lie on your back, bend your knees, and gently rock your pelvis back and forth.
- Knee-to-Chest Stretch: Lie on your back, hug one knee to your chest, and hold for a few breaths. Repeat with the other leg.
Spinal Twist: Lie on your back, bend your knees, and let them fall to one side while keeping your shoulders on the ground. Repeat on the other side.
Hydrate and Rest:
- Inversion therapy can be physically demanding.
Stay hydrated before and after your sessions.
- Allow your body to rest and recover.
- Remember that consistency and proper care contribute to the effectiveness of inversion therapy.
👉🏼 Inversion Therapy for Headache – Does This Even Work?
Monitoring Progress and Adjustments
Listen to the bodies and pay attention to how they feel during and after using the inversion table. Recommend keeping a log of inversion sessions, including the angle of inversion, duration, and any notable changes in symptoms or overall well-being.
Paying attention to your body is crucial when using an inversion table. Here’s how to effectively monitor your progress and make adjustments for a safe and successful experience:
Listen to Your Body
- Pay attention to sensations: Notice how you feel during and after each session. Any pain, dizziness, or discomfort is a sign to adjust the angle, duration, or frequency of your sessions.
- Respect your limits: Don’t push yourself beyond comfortable limits. It’s better to gradually increase intensity as your body adapts.
Track Your Progress
- Keep a log: Maintaining a simple log can help you monitor progress and make informed adjustments. Here’s what to include:
- Date: Track the date of each session.
- Angle of inversion: Record the angle you used for each session.
- Duration: Note the duration of each session.
- Symptoms: Briefly note any pain, stiffness, or other symptoms before and after each session.
- Overall well-being: Track any changes in your overall well-being, such as improved flexibility, reduced pain, or increased energy levels.
Using Your Log for Adjustments
- Identify patterns: Over time, your log can reveal patterns. For example, you might notice a specific angle or duration triggers discomfort.
- Adjust accordingly: Use your log to adjust your inversion routine. If you experience pain, try a lower angle or shorter duration. If you feel no effects, gradually increase the angle or duration as tolerated.
- Consult your doctor: If you experience any concerning symptoms or have questions about adjustments, consult your doctor before continuing.
Additional Tips From My Personal Experience
✔️ Photos or videos: Consider taking photos or videos of yourself using the inversion table to ensure proper form and alignment.
✔️ Review progress regularly: Regularly review your log to see how inversion therapy is impacting your overall well-being.
✔️ Celebrate small wins: Even minor improvements in pain, flexibility, or mood are worth celebrating.
👉🏼 Inversion Therapy for Weight Loss : Ultimate Guide
FAQs Related How To Use An Inversion Table ?
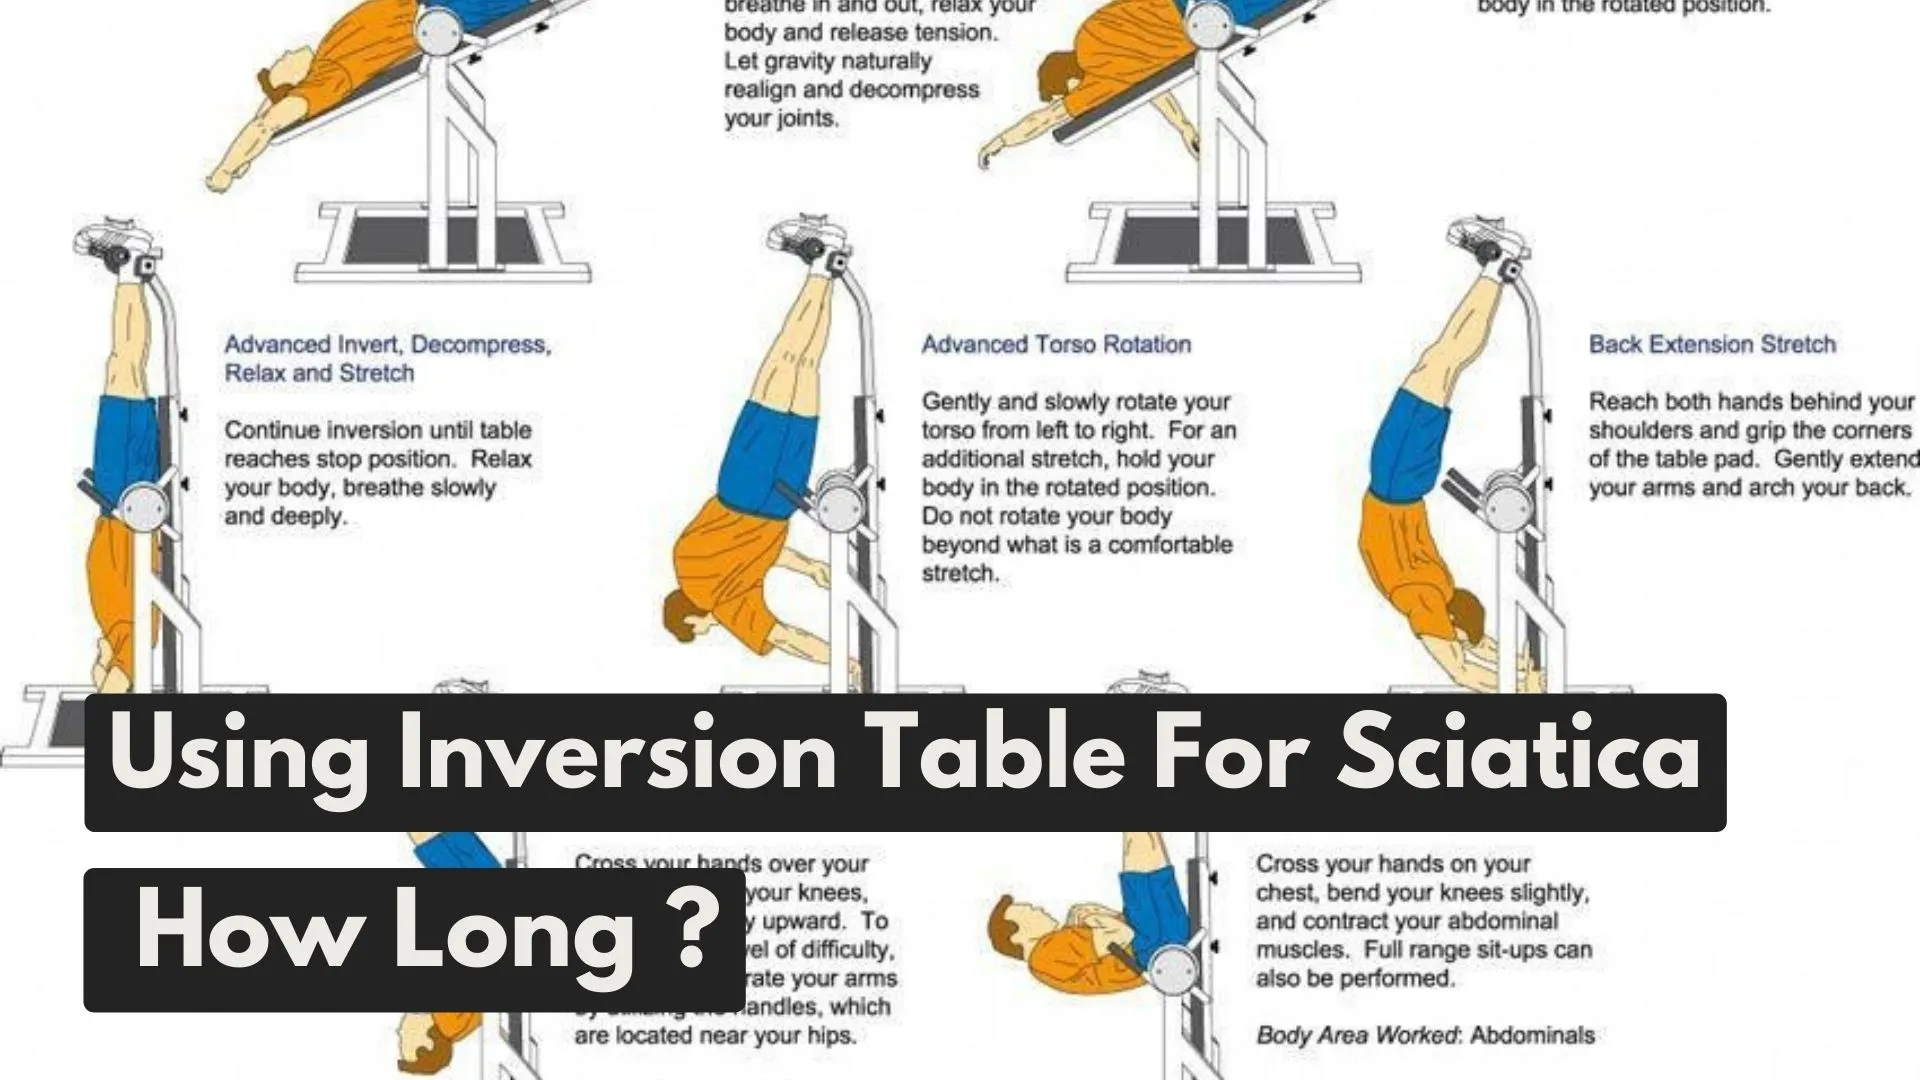
How long should I use an inversion table for sciatica?
Start with 1-2 minutes per session, gradually increasing to 5-10 minutes as your body adapts. Listen to your body and stop if you experience discomfort.
How to use an inversion table for lower back pain?
Want to using inversion table for lower your back pain. Then adjust the table to your height, secure your ankles, and lean back to a comfortable angle (30-60 degrees). Stay inverted for 1-2 minutes initially, gradually increasing duration. Perform gentle stretching or stay still, then return slowly to an upright position.
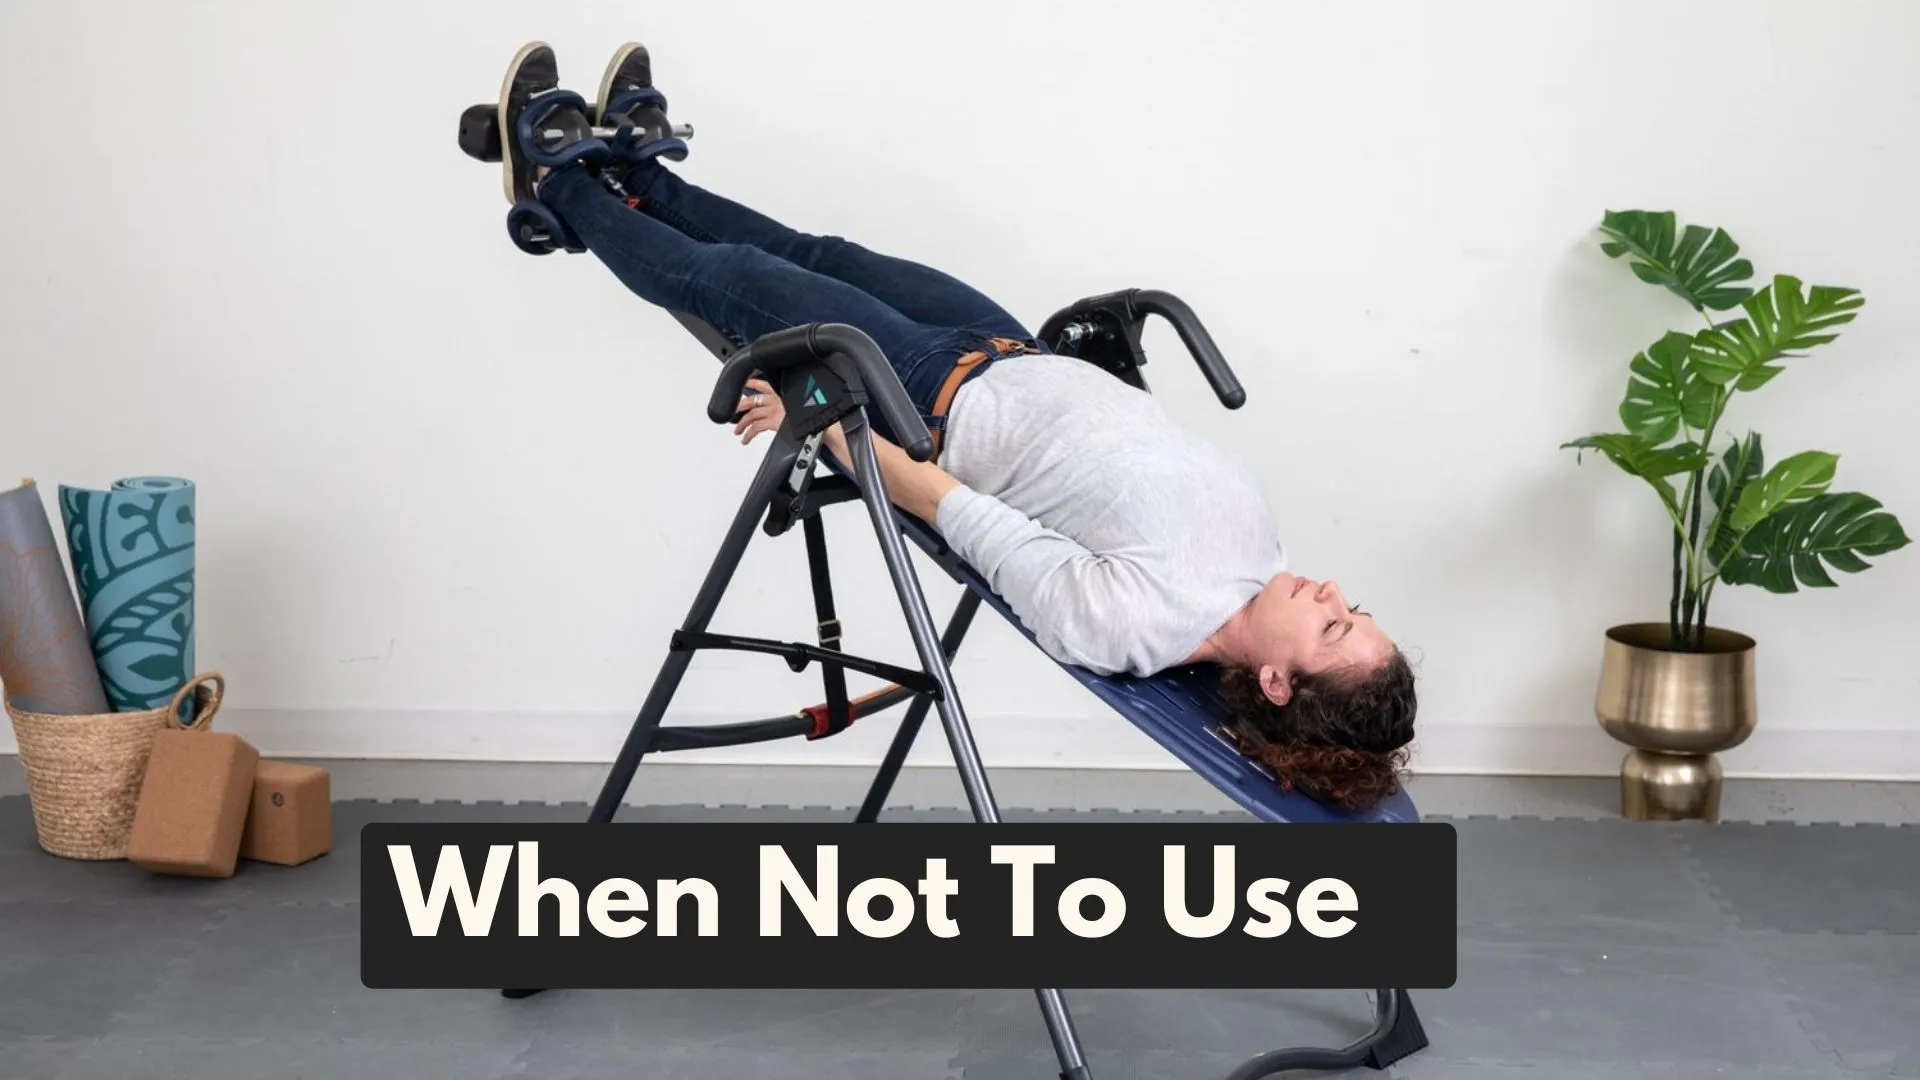
Who should not use an inversion table?
Avoid inversion therapy if you have conditions such as high blood pressure, heart disease, glaucoma, or hernias. Pregnant women and individuals with osteoporosis or recent surgery should also refrain from using inversion tables.
How to use an inversion table for neck pain?
Set the inversion table to a slight angle (15-30 degrees) to avoid excessive strain on the neck. Ensure your head is properly supported, and remain in this position for 1-2 minutes, gradually increasing as you get comfortable. Focus on gentle movements and relax your neck muscles.


![Inversion Table Exercise & Workout Therapy Instruction [ Must-Read Guide ] inversiontablehub.com](https://inversiontablehub.com/wp-content/uploads/2023/02/Red-and-Black-Dark-Gamer-Sports-YouTube-Outro-18.webp)
Leave a Reply